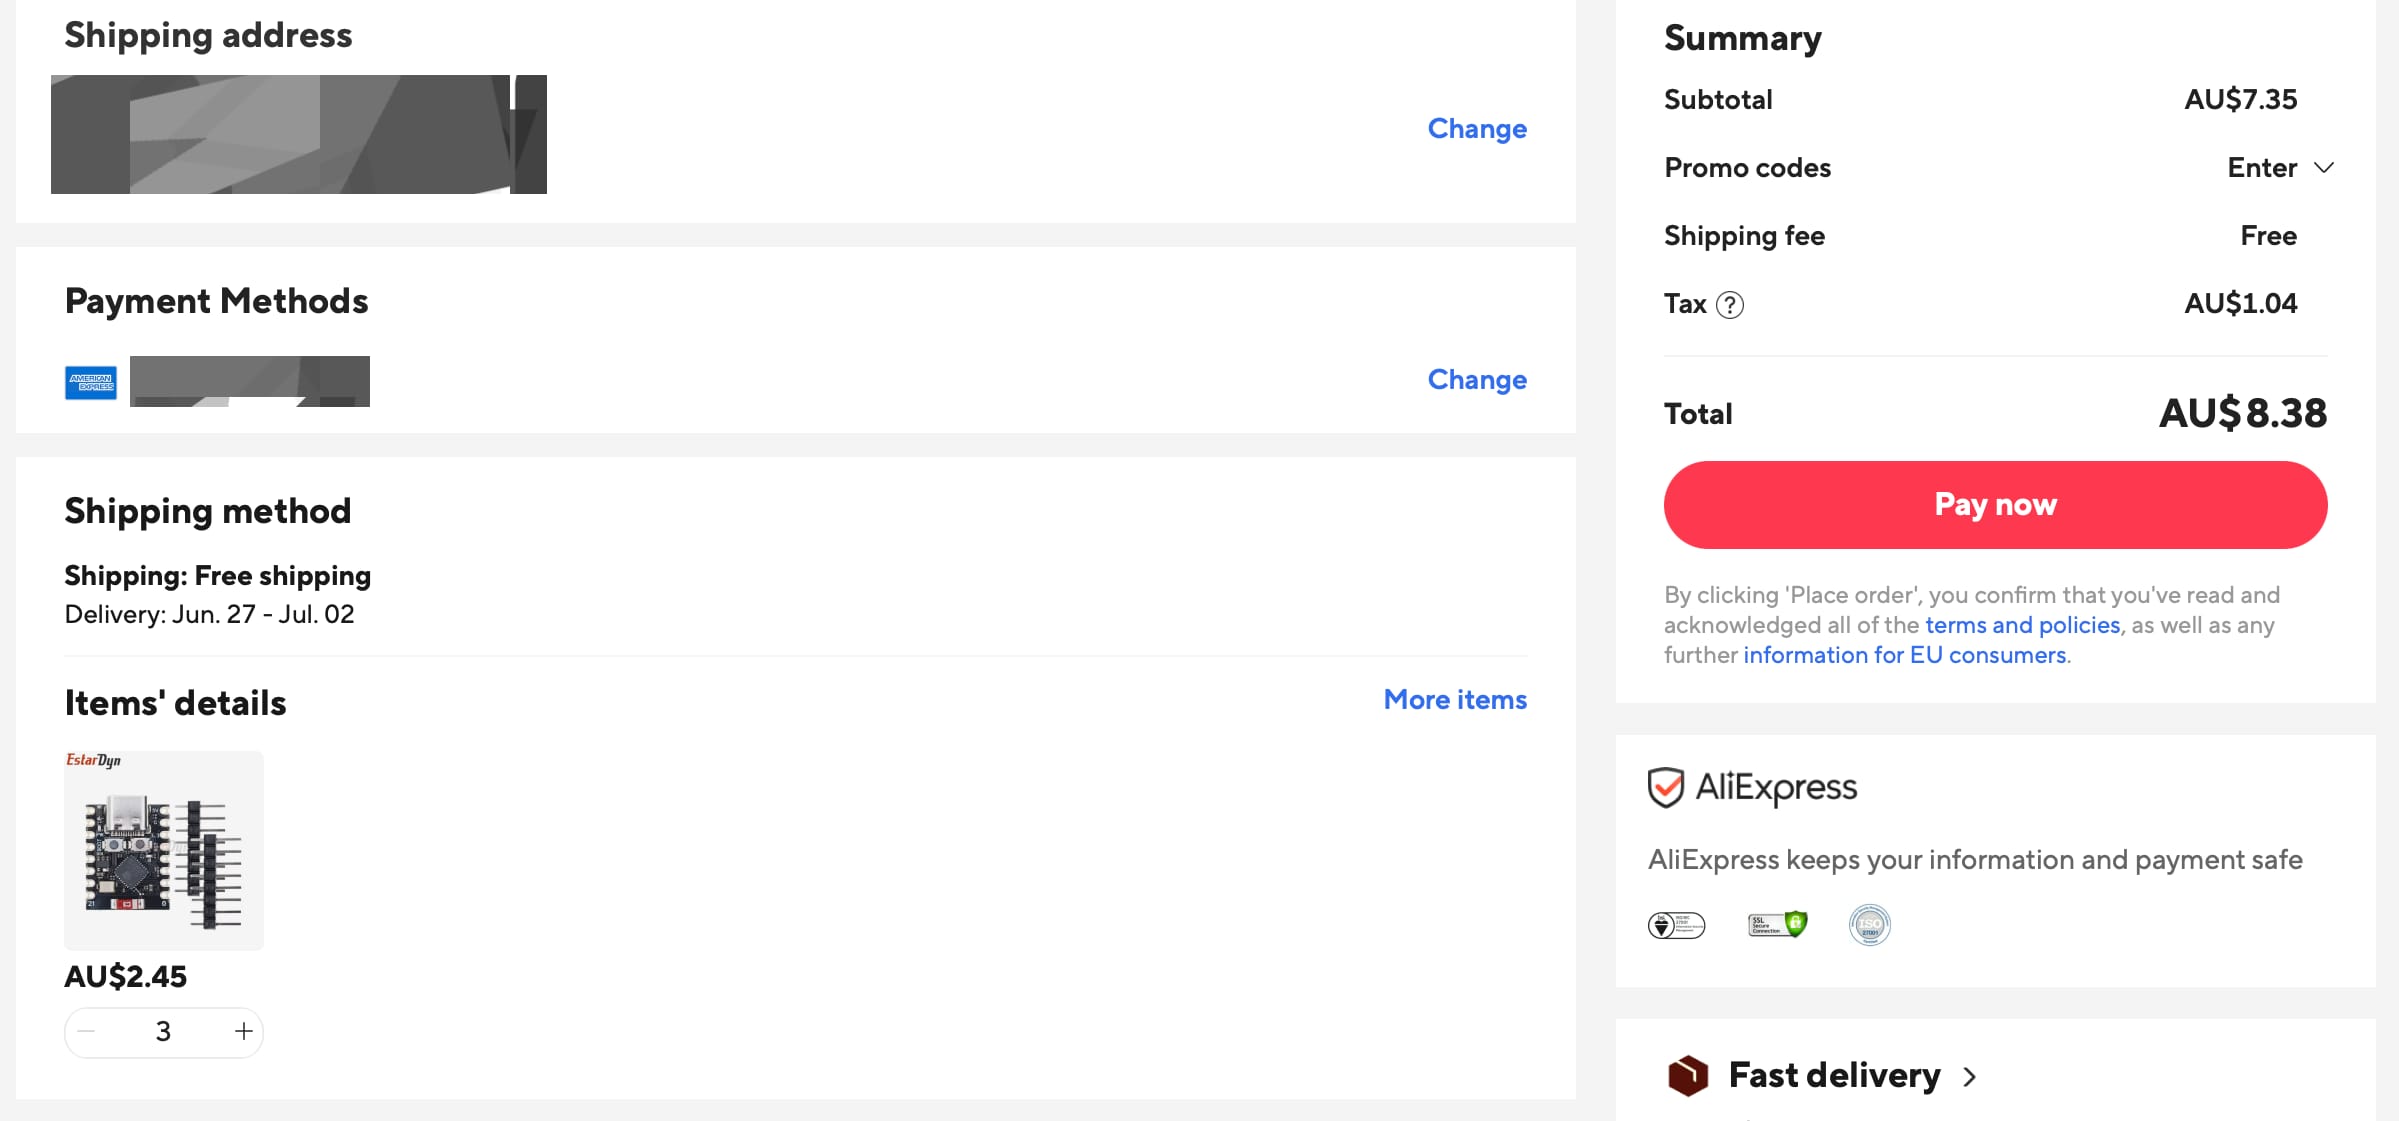
It's wild how cheap you can buy a computer for these days. I can get three computers mailed to me from China for A$8.38 - including GST!
Just search AliExpress for ESP32 and scroll a little until you find the cheapest boards.
Maybe they're counterfiet chips or contain parts that failed normal quality control, but they're bloody cheap and perfect for little ESPHome projects. I purchased a couple for some things I had in mind, but setting them up for ESPHome wasn't as straightforward as it was with other ESP32 modules I've used in the past.
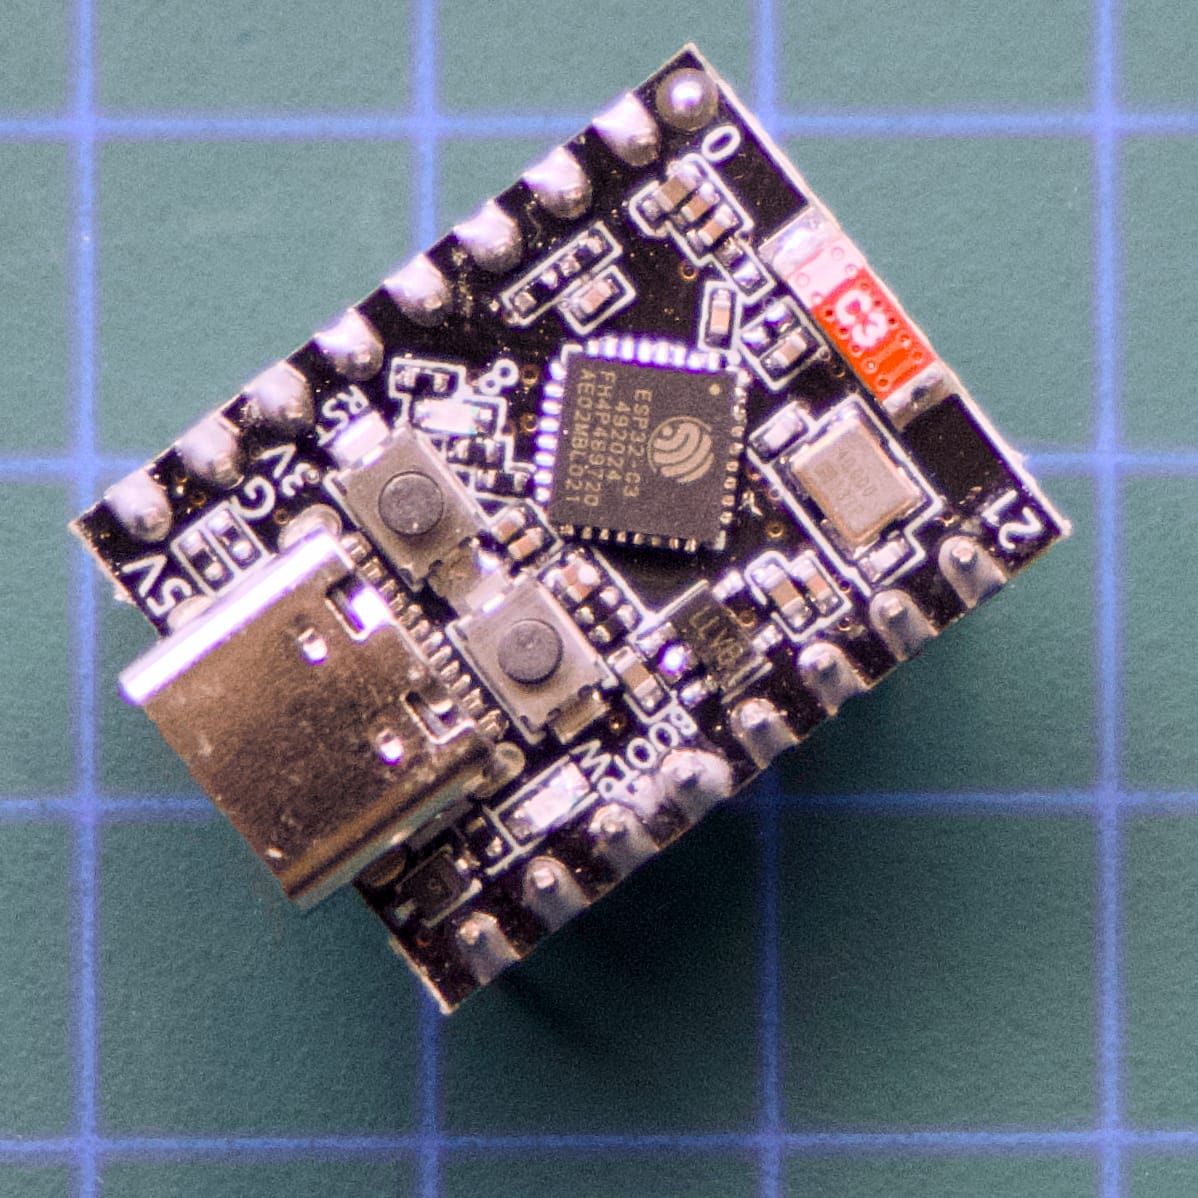
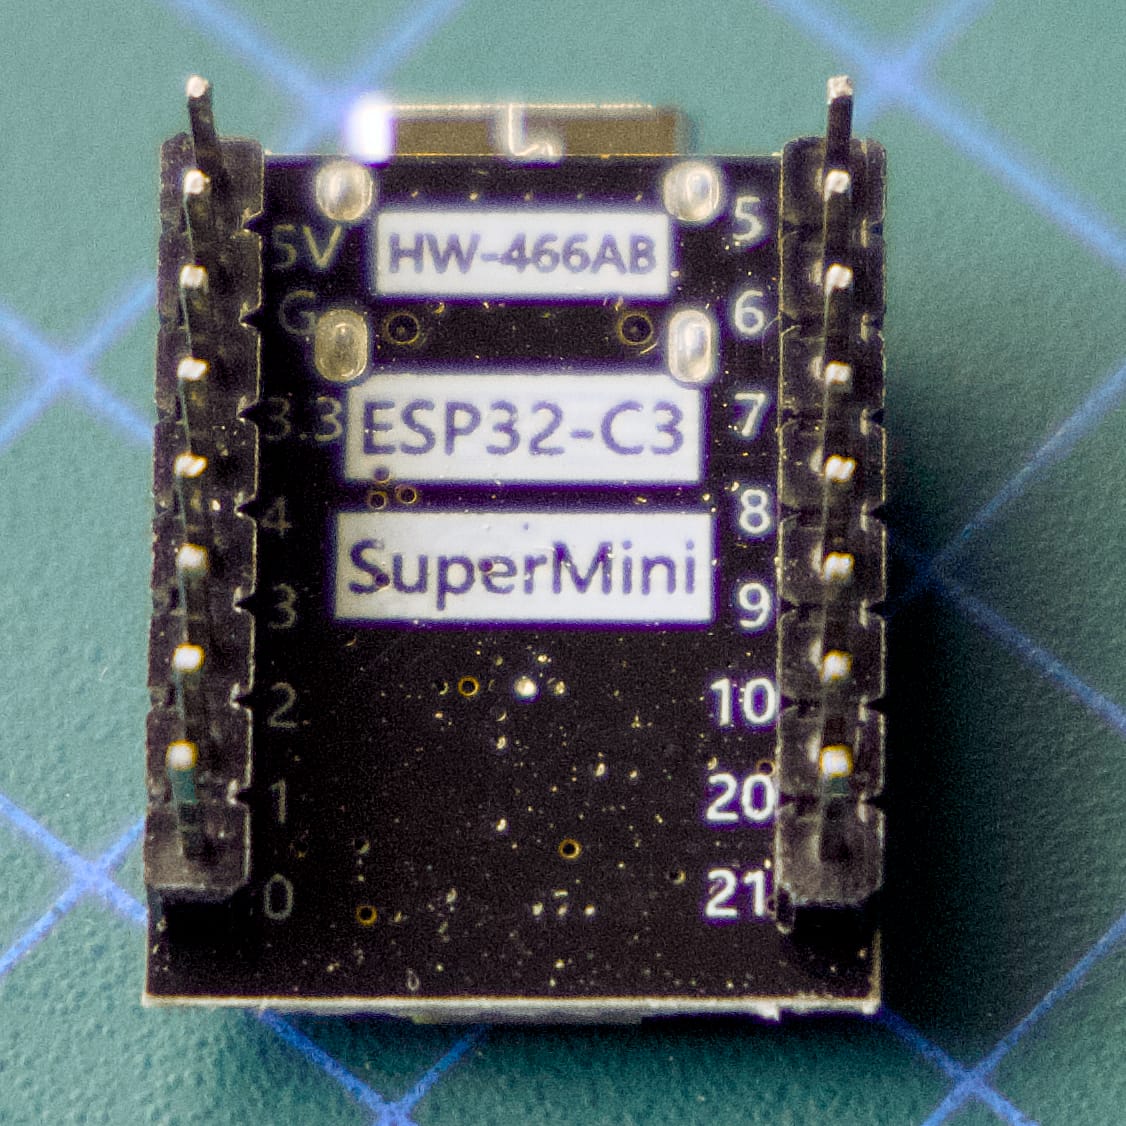
To save you the same pain I did, here's a little guide to setting up the ESP32-C3 SuperMini development board in ESPHome. Here's what my ESP32 boards look like. It's got HW-466AB printed on the back. I hope yours looks like this too.
Oh, I'm using ESPHome 2025.6.0, which was the latest at the time of writing this post. Maybe it'll be fixed in later versions to be smoother out of the box, I dunno.
Put the board into download mode by holding down the BOOT button and presssing the RESET button while it's connected to your computer via Chrome and the ESPHome Web firmware installer.
It won't connect to your wi-fi network as the board uses something called Improv wi-fi configuration, so we have to manually add the device in the ESPHome dashboard in Home Assistant, then replace the auto-generated YAML template with this:
esphome:
  name: beepyboy

esp32:
  board: esp32-c3-devkitm-1

logger:

api:

ota:
  - platform: esphome

wifi:
  ssid: "xxxx"
  password: "xxxx"

improv_serial:
Then manually download and install it via the ESPHome Web installer.
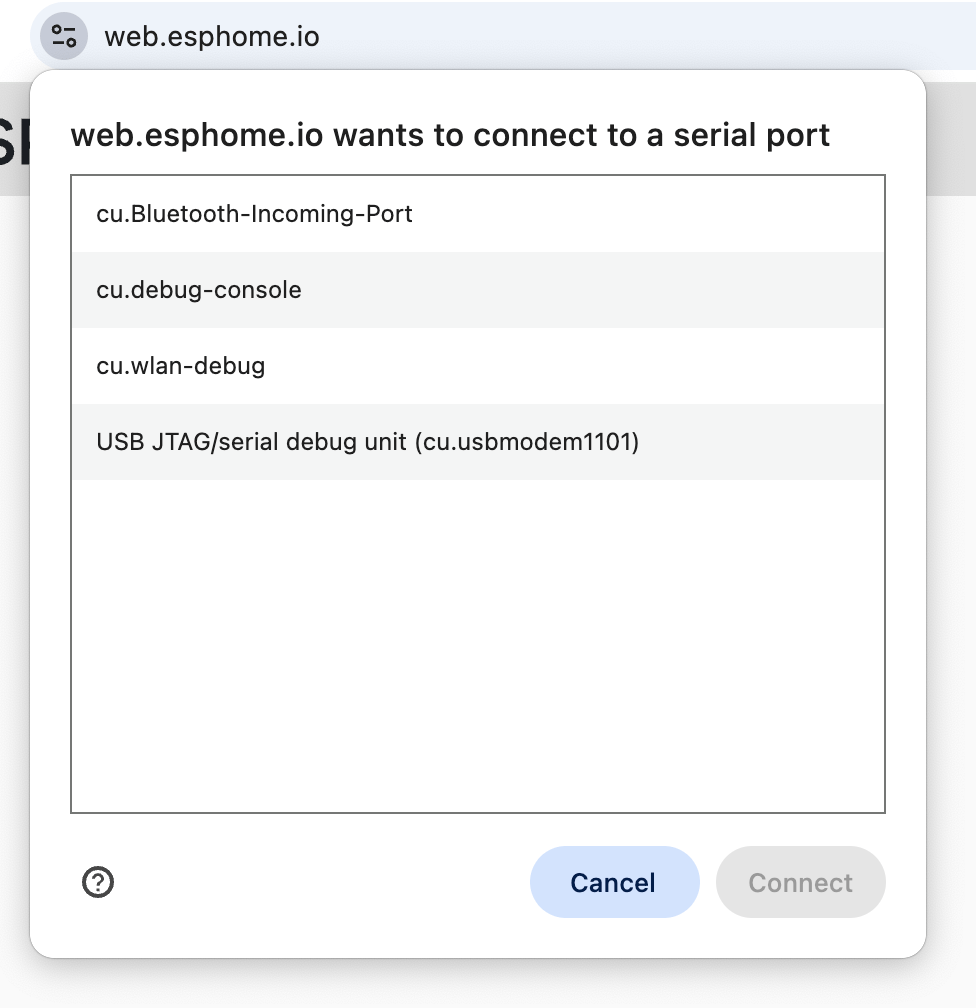
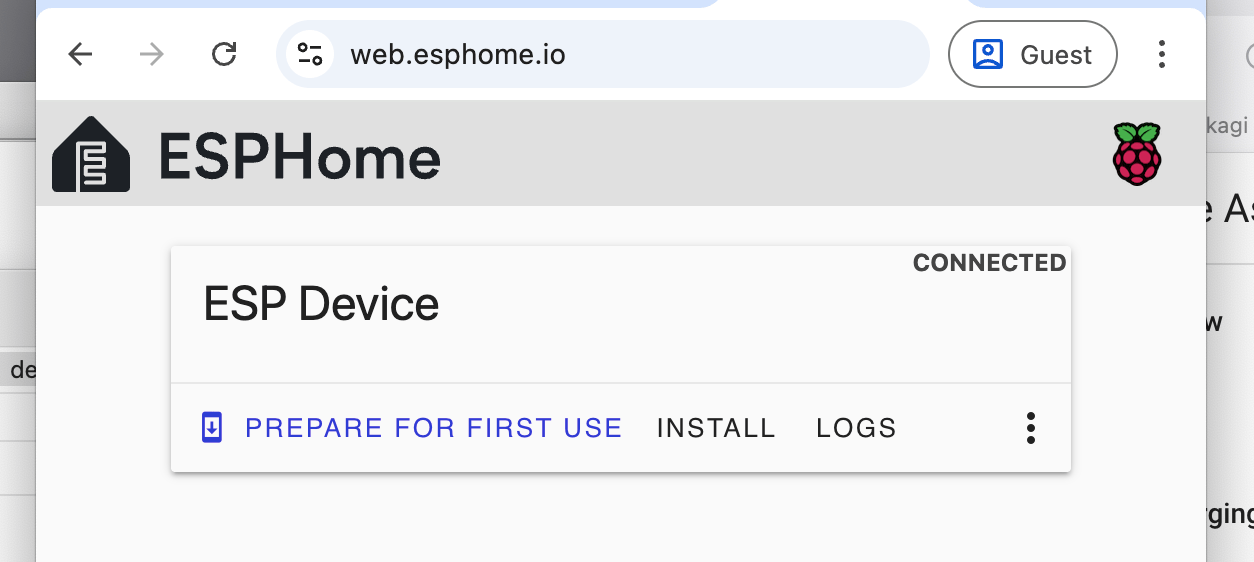
First you need to pre-load the ESPHome firmware onto the ESP32. That works as normal. Visit https://web.esphome.io/ in Chrome/Edge, connect your ESP32 board to your computer's USB port and you should see it appear in the device list in Chrome.
But for me, the board kept on appearing then disappearing and not staying connected long enough to do the flashing process. The board needs to be put into "Download" mode. You do this by plugging it in to the computer, then while connected, awkwardly hold down the BOOT button with one thumbnail and then press the RESET button once with your other thumbnail.
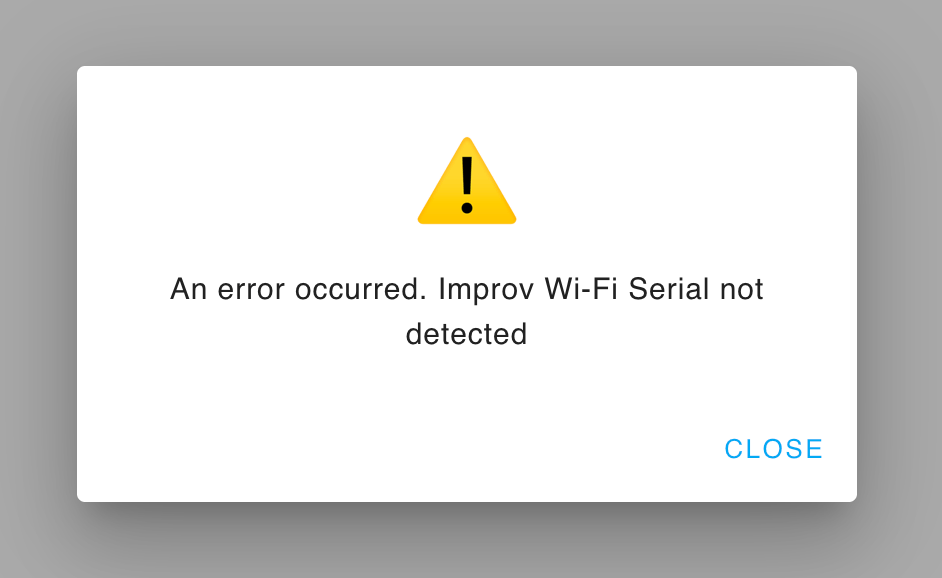
Now it'll be stable and give you an option to "prepare for first use". The webpage will do its thing, but fail with "An error occurred. Improv Wi-Fi Serial not detected" when it tries to connect after competing the firmware upload. If you try and click "Configure Wi-Fi", you'll get the same error.
This also means it won't appear in Home Assistant's ESPHome dashboard because it's not connected to your wi-fi network. Annoying!!! At least it's an easy fix - just upload your ESPHome code manually.
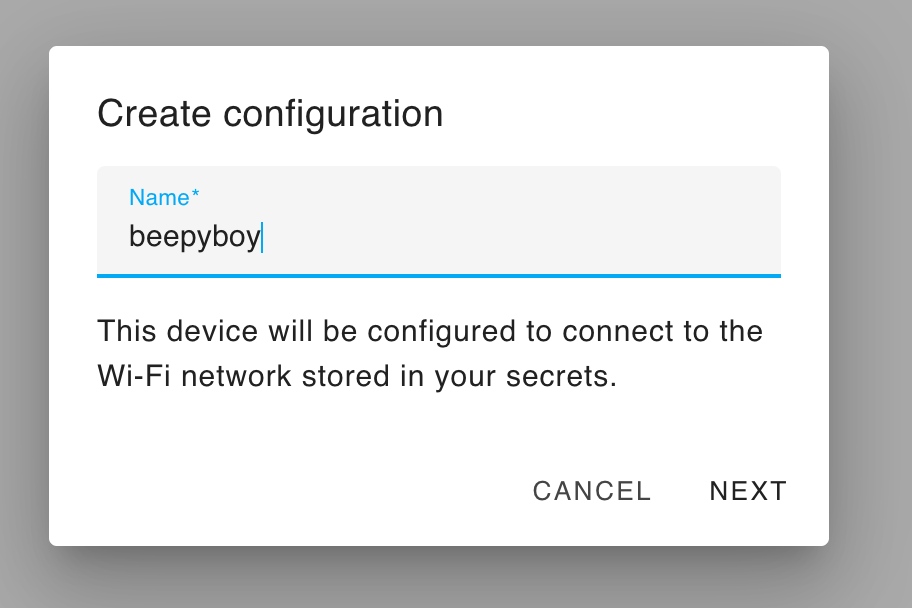
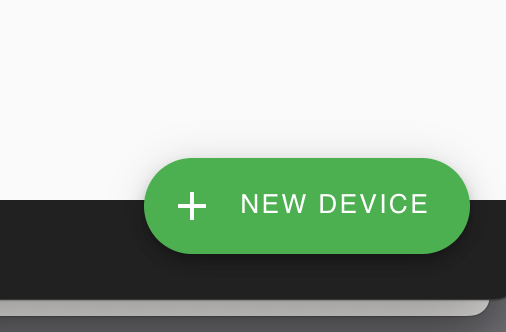
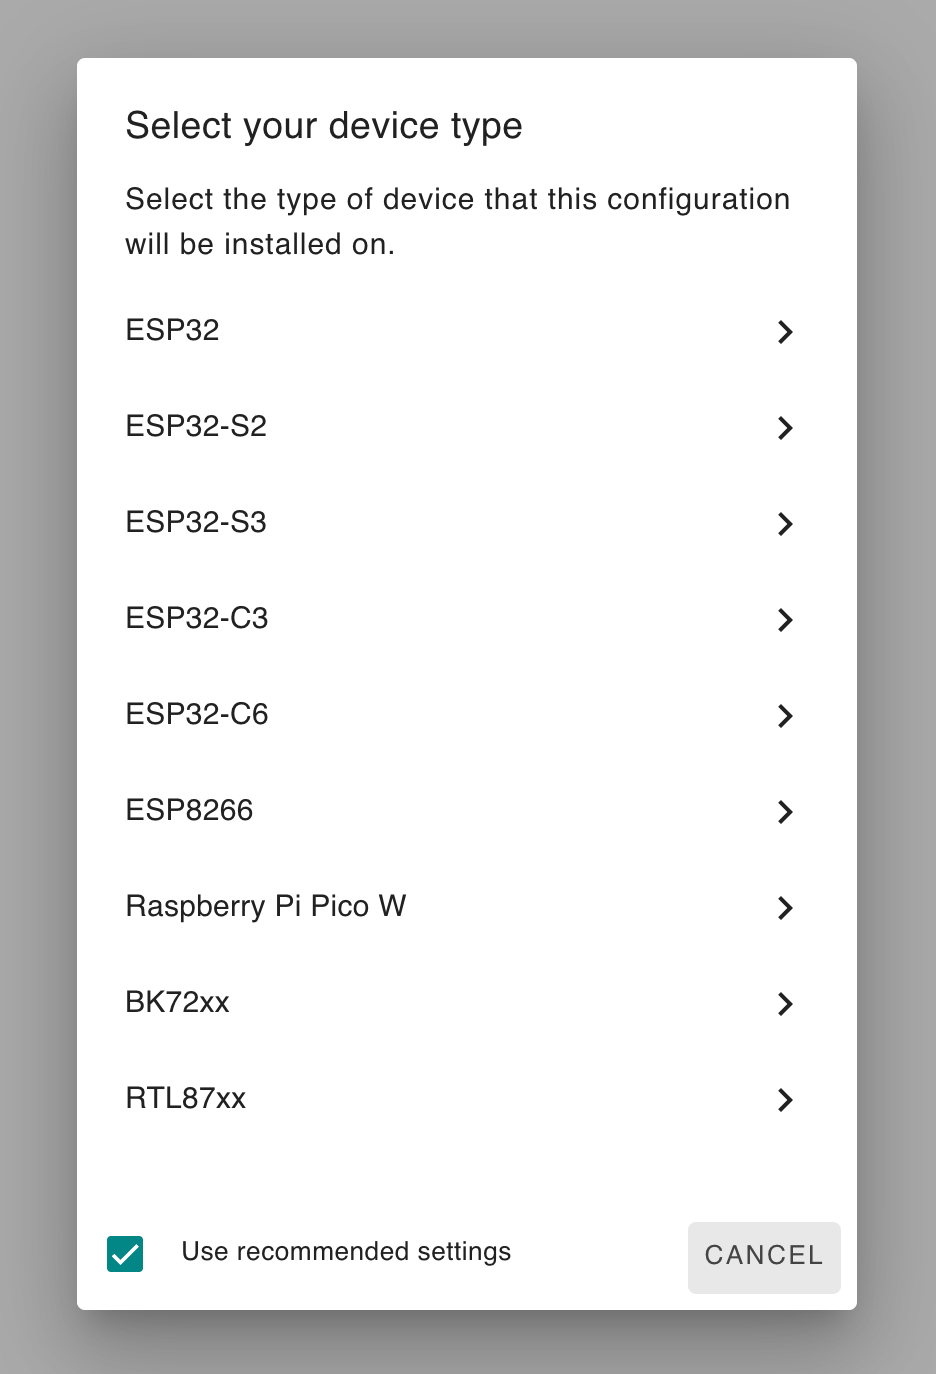
Jump back to the ESPHome Builder dashboard in Home Assistant. Click New Device in the bottom right corner, give your new device a name, then select ESP32-C3 from the list of devices. Save the encryption key if you wanna be secure and shit.
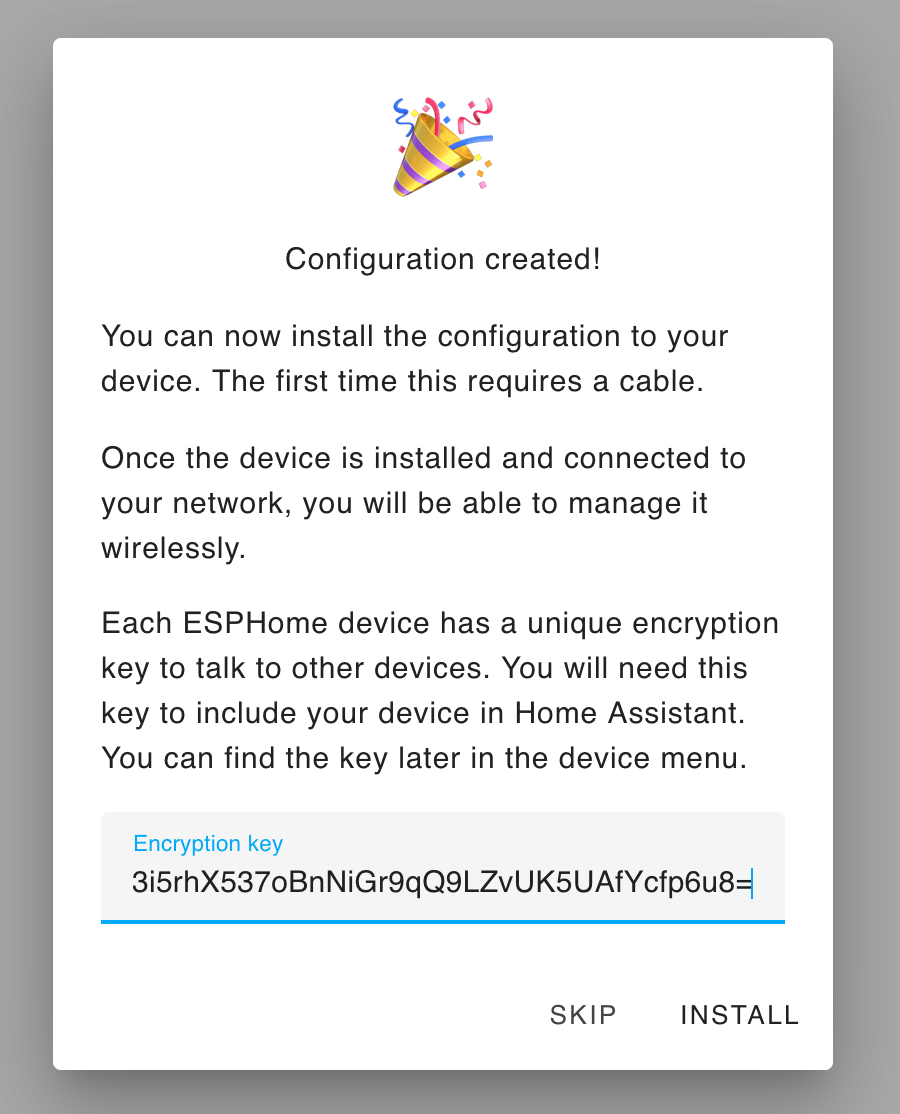
Press Skip instead of Install, because the YAML it auto-generates gives me this error when it tries to compile the firmware:
INFO ESPHome 2025.6.0
INFO Reading configuration /config/esphome/beepyboy.yaml...
INFO Generating C++ source...
INFO Updating https://github.com/espressif/esp-protocols.git@mdns-v1.8.2
INFO Compiling app...
Processing beepyboy (board: esp32-c3-devkitm-1; framework: espidf; platform: https://github.com/pioarduino/platform-espressif32/releases/download/53.03.13/platform-espressif32.zip)
--------------------------------------------------------------------------------
MissingPackageManifestError: Could not find one of 'package.json' manifest files in the package
We need to wipe all the YAML it made and replace it with our own.
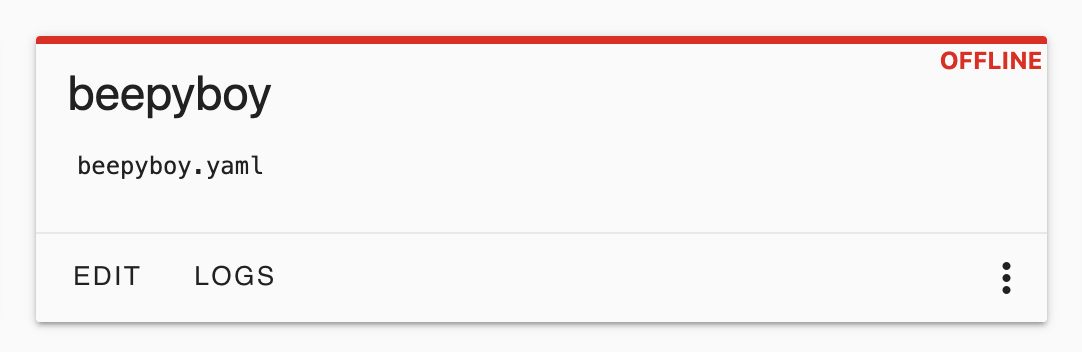
On the ESPHome Builder dashboard, click EDIT on your new offline device:
Trash all the auto-generated YAML and paste this instead:
esphome:
  name: beepyboy

esp32:
  board: esp32-c3-devkitm-1

logger:

api:

ota:
  - platform: esphome

wifi:
  ssid: "xxxx"
  password: "xxxx"

improv_serial:
Replace the xxxx inside the quotes with your wi-fi details. Keep the quotes there! If you're fancy you can do this instead:
wifi:
  ssid: !secret wifi_ssid
  password: !secret wifi_password
And store your passwords in the secrets.yaml file as outlined in the ESPHome documentation. Or not. I don't as I couldn't get it to work and can't be fucked looking into it further!
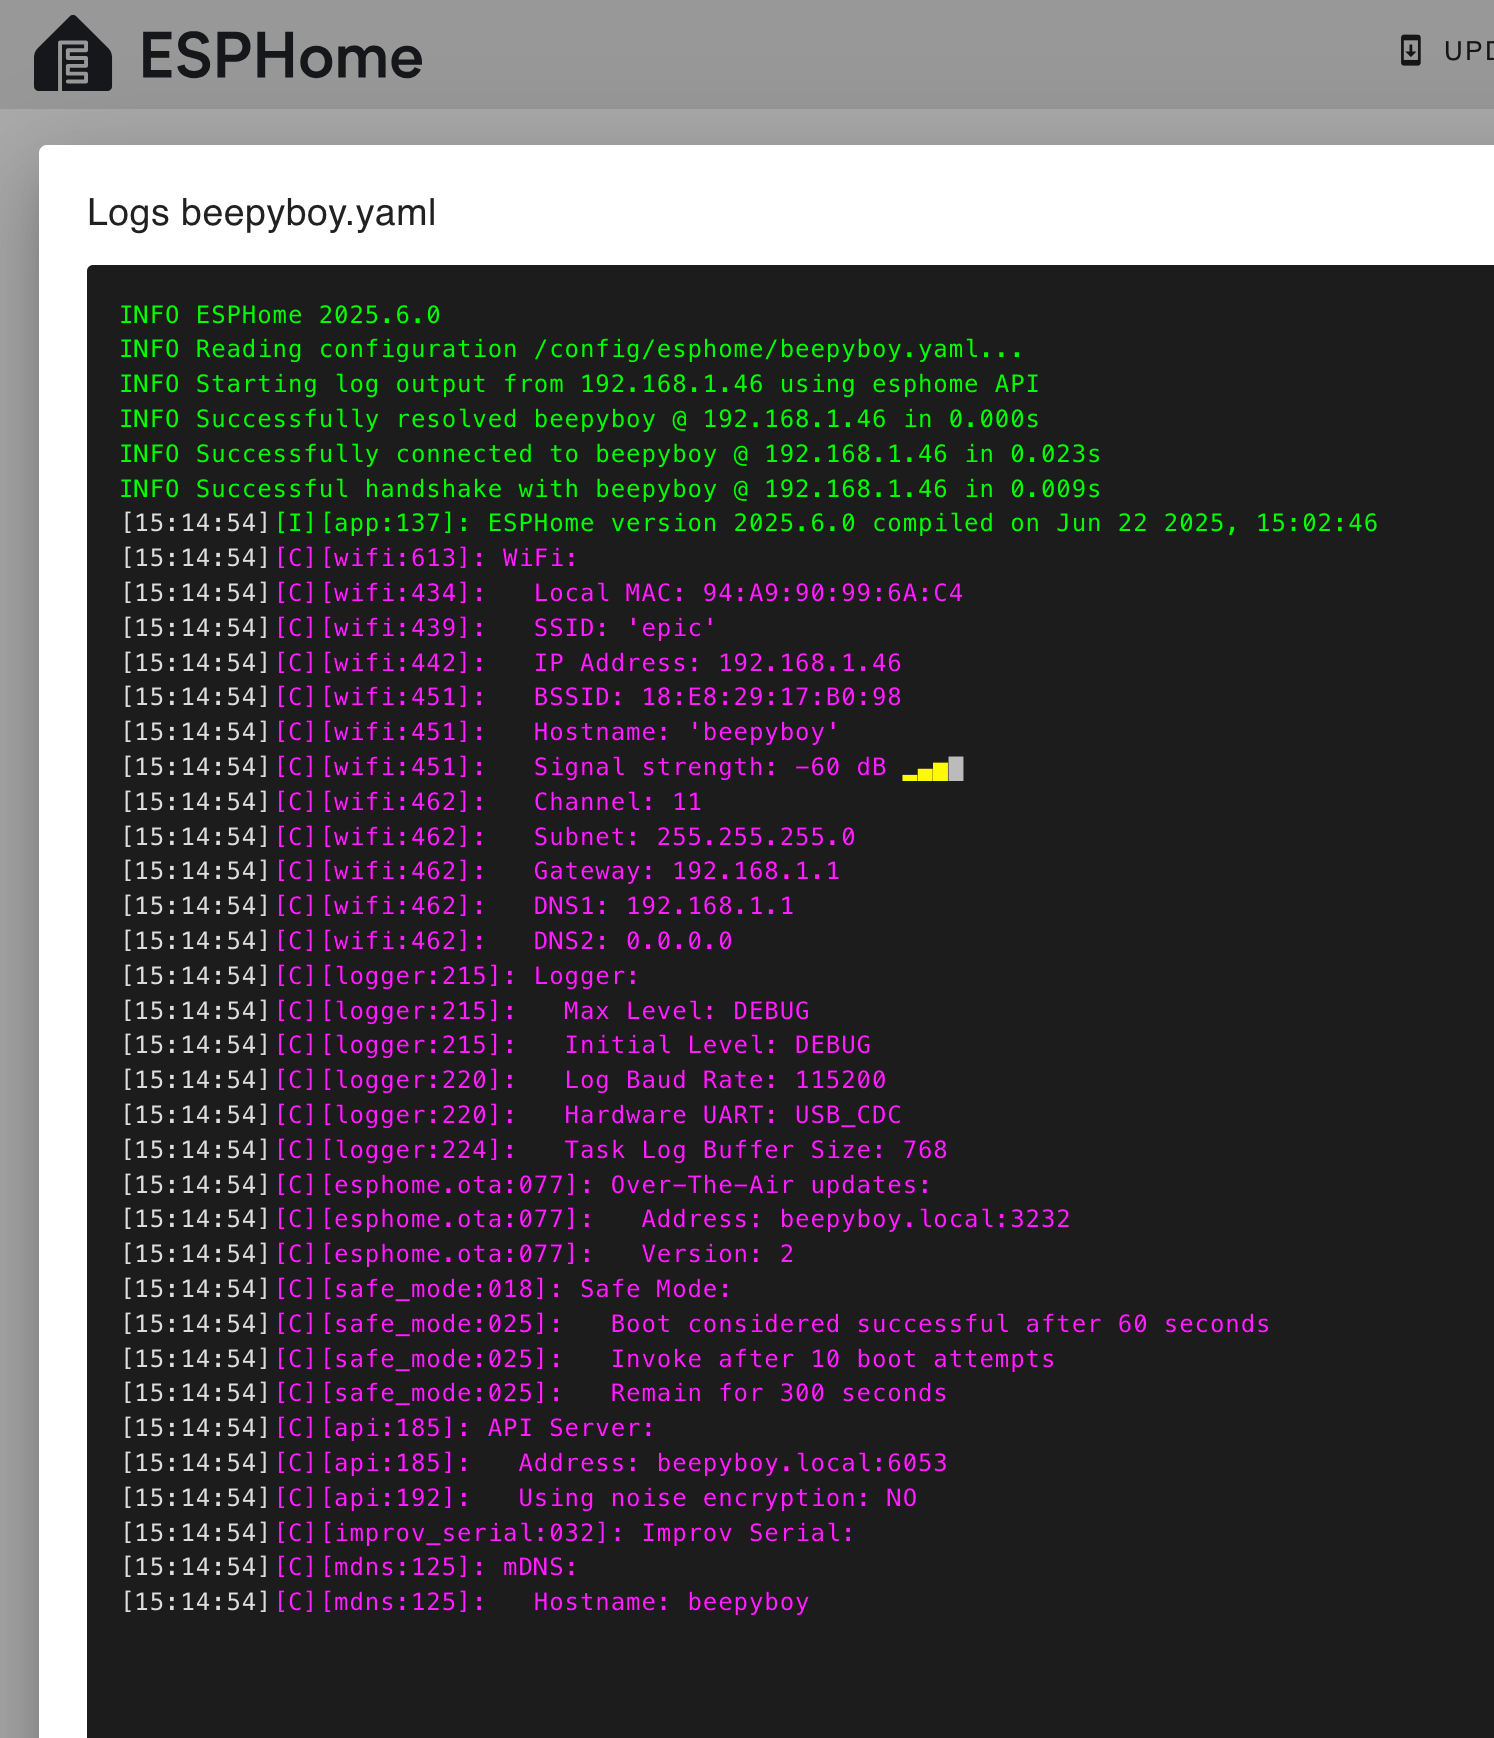
Once you're done mucking around with YAML, press save, then install and select Manual Download. Hang around while it compiles the code into a binary for the ESP32 - it can take a while if like me, you've got Home Assistant running on a Raspberry Pi. I should really move Home Assistant to an x86 box so this doesn't take so long.

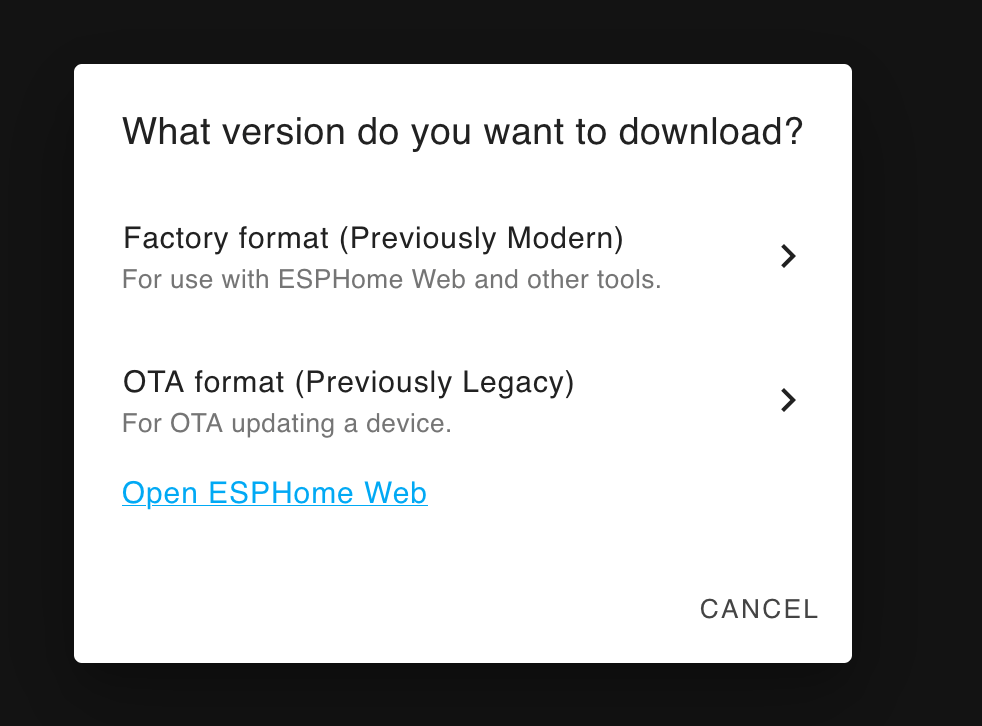
When it's done, select "Factory Format" and your browser will download a .bin file. We need to upload that .bin file to the ESP32 board.
Return to https://web.esphome.io/, connect to the ESP32 board again and select "Install". Give it your freshly downloaded .bin file, press install, wait a minute or two and when it's done, unplug the board from your computer and then plug it into a new USB power source (battery, wall, or even the same USB port if you like).
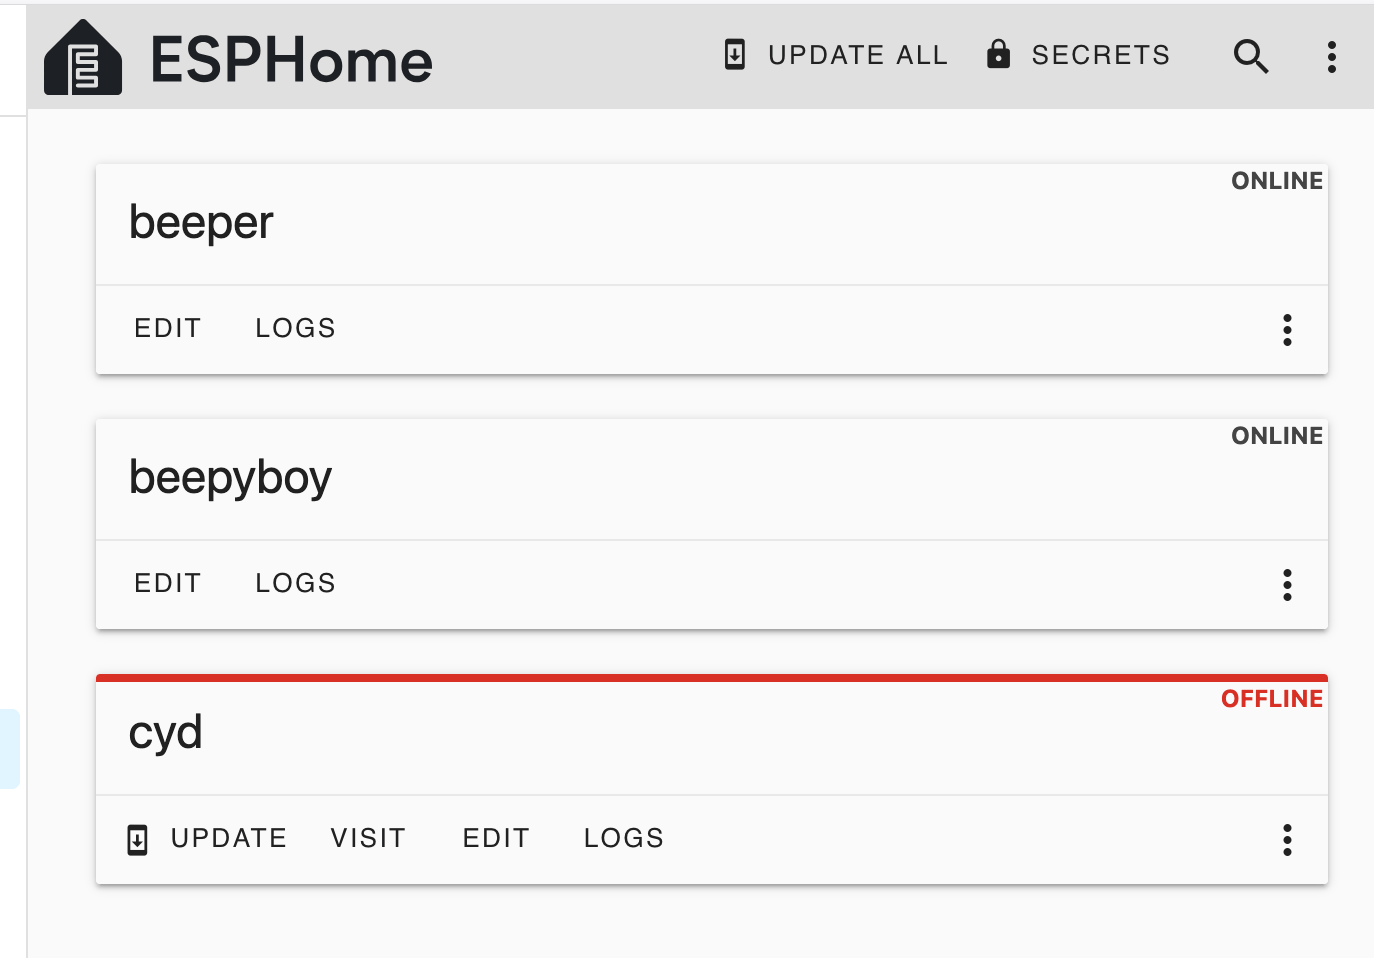
Wait a minute and it should now appear in ESPHome in Home Assistsant alongside all your other half-done and offline because you broke it last week and haven't got around to fixing it projects.
Now you can do whatever ESPHome related activities you like with this $2.80 computer. You're welcome.
If you want more info about the ESP32-C2 SuperMini, like specs, pinouts and so on, ESPBoards has all the info you need.
It's an Ausse take on tech news that I write daily. No ads, no tracking, no affiliate links, no AI slop. 100% subscriber-funded since 2015.